|
INTRODUCTION :
I often need to make images of
GUI's (or portions of GUI's) ---
for web pages on my own web sites (such as this freedomenv.com site)
or for web pages at other sites to which I contribute
(such as the Tclers' Wiki at
wiki.tcl.tk).
In capturing images of GUI's, I typically need to reach
a compromise between
-
image file size
and
-
image quality.
File size becomes an issue, because
I like to make web pages that load very quickly.
Furthermore, if I am uploading images to a web site other than my own, the
considerate thing to do is to make the images relatively small,
so that I do not use much disk space on someone else's web site.
Some of my web pages contain many images (say, 20 or more).
In those cases, it becomes important to reduce the size
of the images, so that the web page loads relatively quickly.
On the other hand, I would like to preserve the quality
of the original, captured images as much as possible.
This goal is typically at odds with compressing the
image files to reduce their file size.
This page is intended to provide guidance in achieving relatively
small file sizes while preserving the quality of the images
(to the human eye) as much as possible.
Three main image file formats :
The image file formats that are most commonly used in web pages
(and that are supported by most web browsers) are
Historically speaking, that is basically the order in which these
image formats started being used on web sites.
GIF was relatively compact because it reduced any image it
contained to a table of no more than 256 colors --- and
the contents of the file were compressed using LZW compression.
JPEG became popular as computers became more powerful, internet
data transmission became speedier, digital cameras replaced
film cameras, and more and more photos were posted
on web sites.
JPEG offers the option of using around 16 million different colors,
and JPEG offers variable compression amounts (at a trade-off of
lesser quality for smaller file sizes).
However, GIF offers some features that JPEG does not support, such as
transparent pixels and animated images.
PNG was a late-comer --- and in the 1995-2005 decade, some web
browsers, such as Microsoft's Internet Explorer through version 6,
were known to have problems showing PNG files --- or, at least,
some sub-types of PNG files.
Nowadays (circa 2014) PNG (in most, if not all, of its many
'sub-formats' --- PNG8, PNG24, PNG32, PNG48, PNG64) is
well-supported by most of the popular web browsers ---
and PNG offers some features that neither GIF nor JPEG can match.
For example, PNG offers something better than the transparent pixels
of GIF files.
PNG offers an 'alpha' channel --- in addition to the
RGB (red-green-blue) 'channels' of data.
The alpha channel allows PNG files to allow for transluscency
of pixels --- a 'foggy', semi-transparent effect.
PNG also offers an advantage over JPEG files.
The JPEG format is typically used for photos, BUT
the most-used compression technique of JPEG files
(DCT = Discrete Cosine Transform) results in the
'mosquito noise' effect that you see in the
image at the top of this page.
In image captures of GUI's, the 'mosquito noise' effect is
especially noticeable around text characters of one color
(say, black) on a background of a different, contrasting
color (say, white).
The 'mosquito noise' shows up when you compress a
JPEG file too much by using a too-low 'quality' parameter.
With PNG files, you can typically employ compression techniques
that allow for quite good compression without introducing
the 'mosquito noise' effect that is essentially unavoidable
when you try to compress JPEG files significantly.
Briefly, PNG offers 'loss-less' compression whereas JPEG
compression is 'lossy'.
For more info on GIF-versus-JPEG-versus-PNG, see the
ImageMagick page on
image file formats --- specifically,
the section on GIF,
the section on JPEG, and
the section on PNG.
This page (the web page you are reading now) is intended
to provide links to other pages that offer many examples of images
that are saved as JPEG, PNG, and/or GIF files --- with
various levels of compression and quality.
The intent is to give some relatively clear guidelines on
how to create image files with quality almost as good
as the 'original' image, while creating files of
relatively small size.
My image file processing tools :
With respect to putting GUI (and other) images into image files,
the typical steps (and tools) involved are
capture the image, say with a 'screen snapshot' utility ---
or from a digital camera --- or from the scanner of a
PSC (Printer-Scanner-Copier)
crop the image, if needed --- and, perhaps, do some other
processing such as brightening the image via 'gamma correction'
or adding line segments, curves, or text to the image ---
say, with an interactive 'image editor' utility
compress the resultant image file (and/or convert
the image file to a different format) --- say, with
an image conversion/compression program.
In preparing GUI (and other) images for my web sites, I use the
following utilities (on Linux):
'gnome-screenshot' to capture screen images (as PNG files) ---
or drag-and-drop of JPEG files from the memory chip of a
digital camera --- or
'iscan' software with an Epson PSC (Printer, Scanner, Copier).
'mtpaint' interactive image editor, for cropping and otherwise
processing the captured PNG file --- to a PNG file.
ImageMagick 'convert', for compressing and/or converting the PNG (or JPEG)
image file saved from 'mtpaint' --- to a PNG or JPEG or GIF file.
Alternatively, I use
'pngcrush' for compressing PNG files.
You can substitute your favorite image capture and processing
utilities to achieve similar results to the results reported herein
--- provided your utilities have 'quality' control options.
NOTE:
To be able to conduct similar image compression experiments,
your utilities should be able to provide the following functions:
-
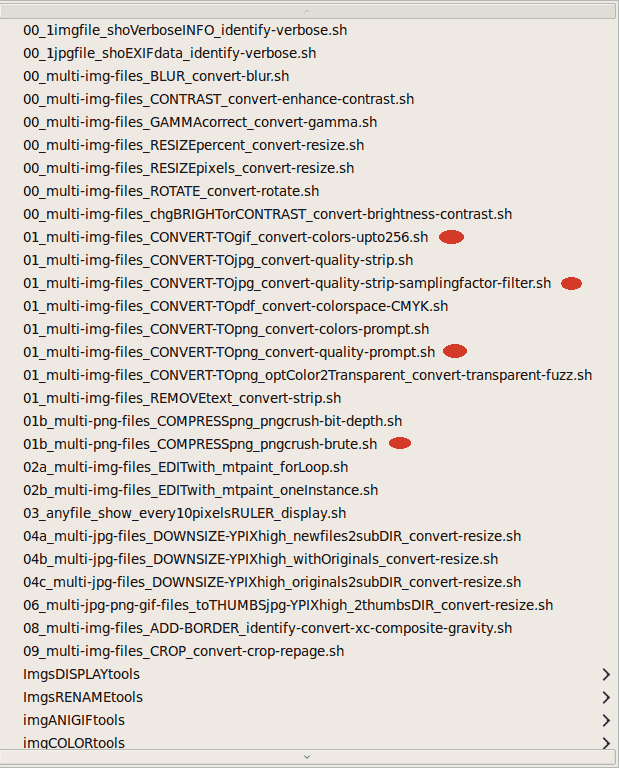
To get GIF files, I used the ImageMagick 'convert' command
with the '-colors' option, to specify the maximum size of
the GIF color table.
-
To get JPEG files, I used the ImageMagick 'convert' command
with the '-quality' option, to specify a quality-level for
the output JPEG file.
-
To get compressed PNG files, I used the ImageMagick 'convert'
command with the '-quality 00' option, to specify a
quality-level for the output PNG file.
Alternatively, I used the 'pngcrush -brute'
command to get a 'maximally compressed' PNG file.
Seeking excellent quality
along with minimum file size :
In the 2009 to mid-2014 time frame, I used to edit captured PNG image files
with 'mtpaint', and saved the cropped/processed image as a JPEG
file with 'quality=100' (a minimum of compression).
I used JPEG mainly to avoid any possible problems with people
not being able to see the image if their web browser did not
support PNG files.
And I used 'quality=100' because I did not
want to lose quality (as far as the human eye could tell)
from the original captured image.
In mid-2014, I spent some time experimenting, and I found that
(with the ImageMagick 'convert' program) I could significantly improve
upon the compression of a 'quality 100' JPEG file that I saved from
'mtpaint'.
If I used 'convert -quality 80', I could achieve file
compression down to only 10 to 15% the size of a
'quality 100' JPEG file.
However, if I tried lower values such as '-quality 70' or
'-quality 40', the 'mosquito noise' became just too obnoxious
to bear --- typically in areas where there are small,
'fine' text fonts on a different-colored background.
But I found that I typically did not have to use '-quality 70' or
'-quality 40'.
I could already achieve a majority of the compression
that is possible by using
'-quality 80'.
And, if I was getting some obnoxious 'mosquito noise' when using
'-quality 80', I could use '-quality 92' and still get significant
file compression while avoiding the introduction of 'mosquito noise'.
On some further experimentation, I found that by staying with
the PNG file format through my image processing steps
('gnome-screenshot', 'mtpaint' crop/process, further compression),
I could avoid the 'mosquito noise' effect that I was getting
with highly-compressed JPEG files --- while getting PNG files
that were often 'competitive' in size to the '-quality 80-or-above'
JPEG files.
In particular, by using 'pngcrush -brute' on the PNG files that I
saved from 'mtpaint', I could get GUI image files about the
same size as with 'quality 85' JPEG image files --- while
completely avoiding the 'mosquito noise' effects.
However, I often could get greater compression by converting a
captured-and-cropped PNG file to a GIF file --- while using
'-colors 256' with the 'convert' command, to minimize loss of colors.
The quality of the GIF file --- even with '-colors 32' or
'-colors 16' --- is often as good as the original PNG file
(to the human eye) --- as long as there are not color
gradients and not lots of colors in the image.
Otherwise, color gradients become 'color bands' in the
resulting GIF image file.
The bottom line :
The bottom-line is that I can get quite compact GUI image
files by using PNG and the 'pngcrush' program with the '-brute'
option.
Alternatively, you can get almost as good PNG compression with
'convert -quality 00'
on PNG files, where the 2 digits '00' control compression
level-or-type and filter type.
This can be helpful when a person has the ImageMagick
'convert' program available, but does not have
a program like 'pngcrush' installed.
If I want to get further compression --- more than the maximum that
I can get from 'pngcrush' --- I can go to JPEG files with
'quality 92' or lower.
But if I go below 'quality 80',
I start seeing noticeable 'mosquito noise' effects on
the typical GUI images --- which typically contain areas
with small, fine text fonts, where mosquito noise is typically
generated.
Using a GIF file is fine for black-and-white and for many grays-only
images.
But, if you have any 'smooth color gradient areas' in a GUI
image, using a GIF file will typically result in 'color bands'
in the image, as a many-colored image is reduced to an image
containing no more than 256 colors.
On the other hand, since many GUI's do not contain any large areas
with color gradients consisting of hundreds of colors, you can
often get good images of GUI's, at very small file sizes, by
using GIF files with 256 colors --- or even 128, 64, 32, or 16 colors.
So typically I would choose to
use GIF files --- provided that the image is pure
black-and-white -OR- is only shades of gray (with
no more than 256 shades of gray) -OR-
(if it is a color image) the color image has no areas with
color gradients involving many hundreds of color shades.
use JPEG files --- typically with 'quality' no less than 70
--- provided that the image does not show noticeable
'mosquito noise' (or other) artifacts when I use '-quality'
less than 92.
(92-to-100 does not seem to show visible 'mosquito noise'.)
use PNG files --- after 'loss-less' compression with 'pngcrush -brute'
or 'convert -quality 00' --- if the image contains
color gradient 'patches' and/or more than 256 colors --- and
if I do not want to lose any color information.
These guidelines imply that I have found that I CANNOT say "use
just one of these file types for all of your image needs".
I find that, for each of these file types, there exist
situations that would justify using that file type.
The 'Table of Image Experiments' below provides
sample images that demonstrate the comments that I have made
in this section.
|


